DOGEcoin miner on Raspberry Pi
I happen to have a handful of Raspberry Pi 4’s lying around and thought I would experiment with setting them up as DOGE coin miner. Appreciate that this is more of a proof-of-concept (PoC) exercise, the Pi is not going to fill your crypto wallet with DOGE coins.
Instructions below will focus on installing the 64-bit Raspbian operating system via the Raspberry imager application.
First, we need to transfer the Raspbian image on to an SD card.
- Go to www.raspberrypi.com/software
- Download and install the Raspberry Pi Imager application
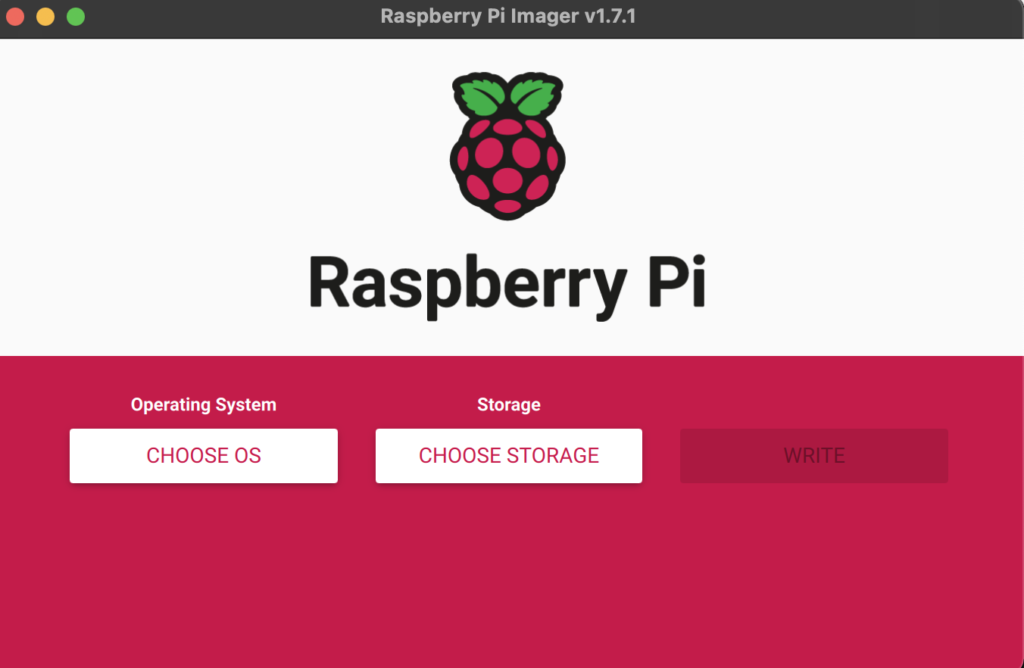
- Open Imager, then:
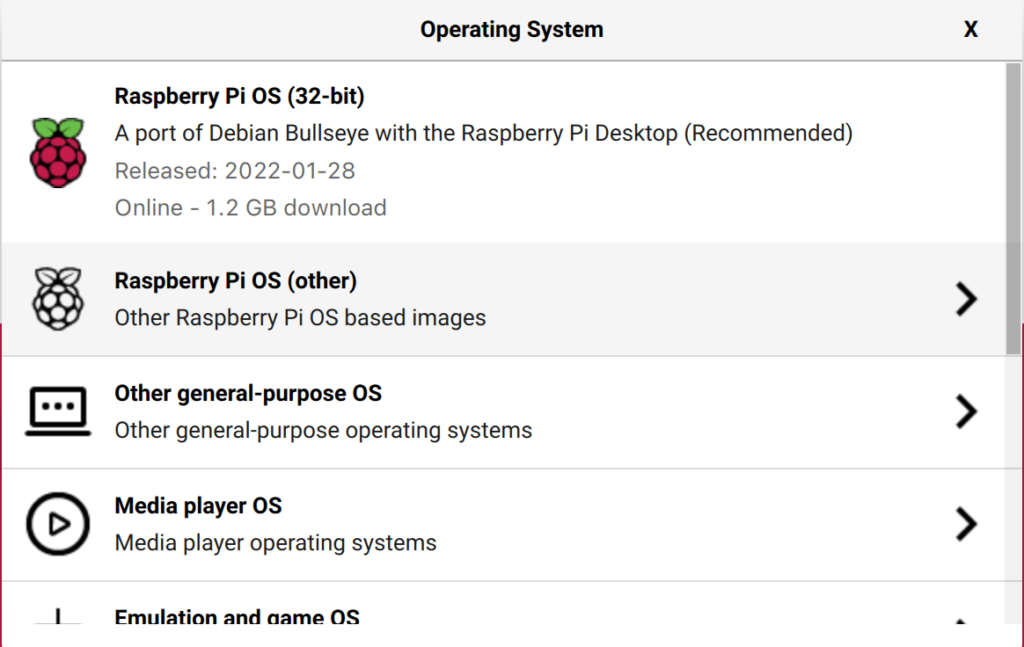
- Click on ’CHOOSE OS’
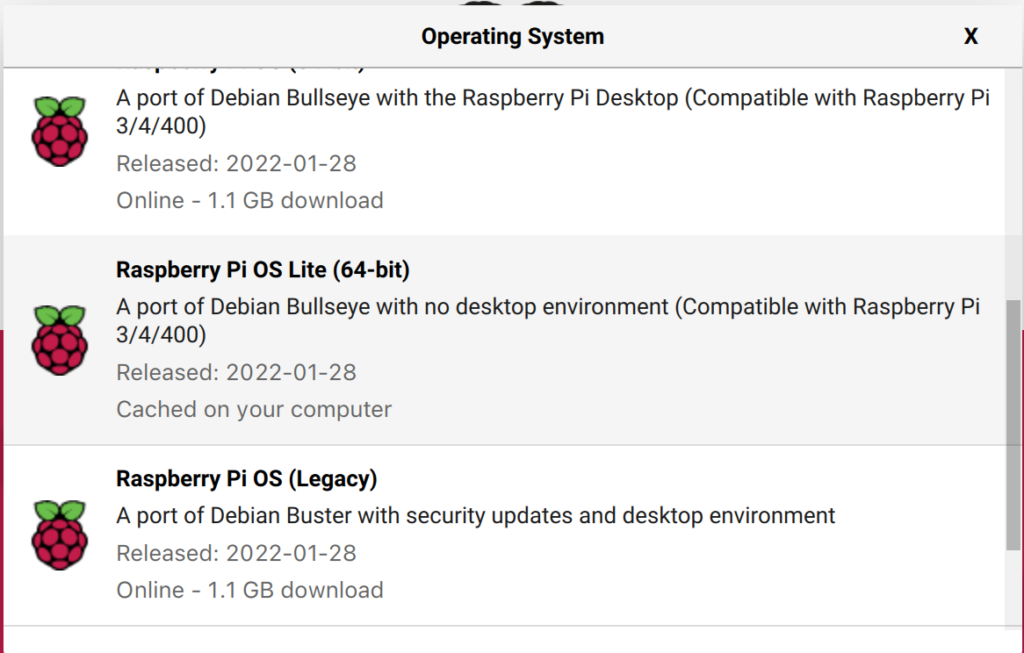
- Click on ‘Raspberry Pi OS (other)’
- Click on ‘Raspberry Pi OS Lite (64-bit)’
- Click on ‘CHOOSE STORAGE’
- Select the SD micro card you just inserted
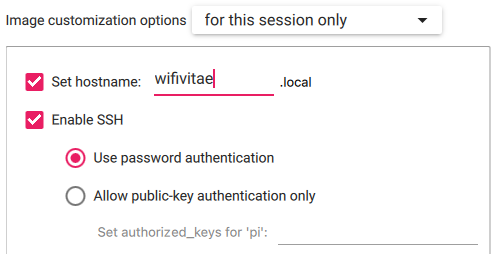
- Click on the gear icon to configure some initial settings for headless connectivity
- Check ‘Set hostname’ and enter a value
- Check ‘Enable SSH’ and check ‘Use password authentication’
- Check ‘Set username and password’ and enter username/password (default: pi/raspberry)
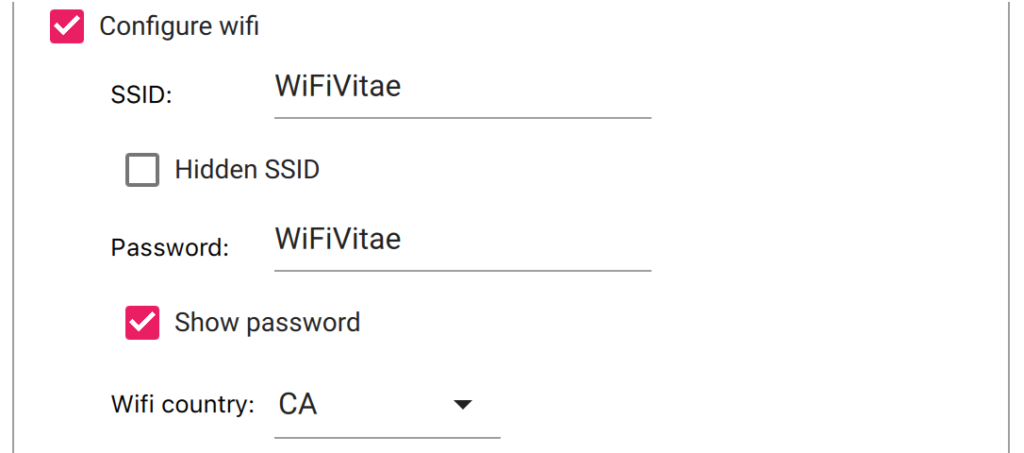
- Check ‘Configure wifi’ and enter SSID and Password (PSK)
- Select your local country code from the ‘Wifi country’ dropdown menu
- Click ‘Save’
- Click ‘Write’
- Once the burn is complete, insert the SD card into the Raspberry Pi
- Connect the power supply to the Raspberry Pi and turn it on

Next, we must do a little bit of preparation by creating an address with Dogecoin. You can get a DOGE address by visiting the DOGECOIN official website and following the instructions there to set up on Windows, macOS, Linux, or Android. For this PoC, Multidoge (a “light” wallet) will be sufficient; we do not need to download and install Dogecoin core (a “full” wallet). Multidoge skims through the block chain, while Dogecoin core syncs by downloading the blockchain.
Once installed, open the app and search for your DOGE address. It should be a 34-character value, often represented in blocks of four characters. (e.g. DH7f KLqw 74yY P6u8 LF5v key6 YETI vFAT Si).
The next thing we need to do is set up a mining pool, such as unMineable. To set up your mining outfit with unMineable:
- Go to the unMineable website and click on ‘Dogecoin’ in the coins list
- As we’re using a Pi, click the ‘RandomX’ tab
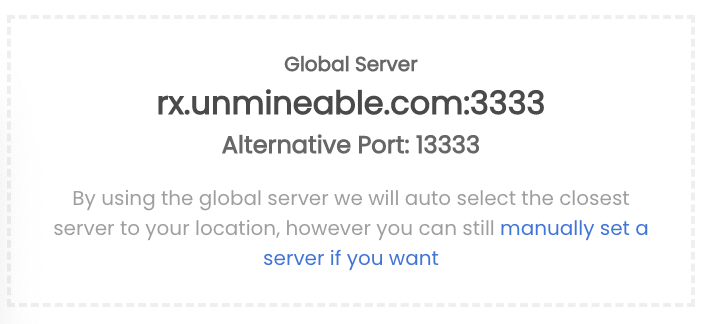
- Note the URL and port number of the global server (rx.unmineable.com:3333)
Install xmrig Raspberry Pi OS
Now we are ready to set up the Raspberry Pi which should have finished booting and be connected to your Wi-Fi network.
- Connect the Pi using SSH:
ssh wifivitae@wifivitae.local
- Install the prerequisites:
sudo apt-get install git build-essential cmake libuv1-dev libssl-dev libhwloc-dev -y
- Clone xmrig from GitHub:
git clone https://github.com/xmrig/xmrig.git
- Navigate to the xmrig build folder:
mkdir xmrig/build && cd xmrig/build
- Compile the code:
sudo cmake ..
sudo make -j$(nproc)
- Download an xmrig template from GitHub into the build folder:
wget https://raw.githubusercontent.com/xmrig/xmrig/master/src/config.json
- Edit the config.json template:
nano config.json
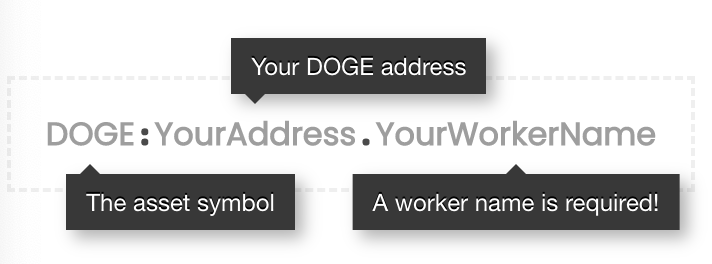
- In the ‘pools’ section, update the URL and user fields. (The name field (e.g. wifivitae) is something unique that you can make up. This name will be listed as a ‘worker’ once mining begins, and it connects to unMineable):
…
“pools”: [
{
“algo”: null,
“coin”: null,
“url”: “rx.unmineable.com:3333”,
“user”: ” DOGE:DH7fKLqw74yYP6u8LF5vkey6YETIvFATSi.wifivitae”,
“pass”: “x”,
…
Quick side note: If you would like to reduce the management fee from 1% to 0.75%, feel free to use this referral code (ovxc-11um) and add it after the worker name for ‘user’ in the config.json file, as shown below:
“user”: ” DOGE:DH7fKLqw74yYP6u8LF5vkey6YETIvFATSi.wifivitae#ovxc-11um”,
- Save and exit
- Start your miner:
./xmrig

Check your progress status on unMineable
Enter your DOGE address (e.g. DH7fKLqw74yYP6u8LF5vkey6YETIvFATSi) in the search field. The worker name you made up in the config.json, should appear in the worker column.
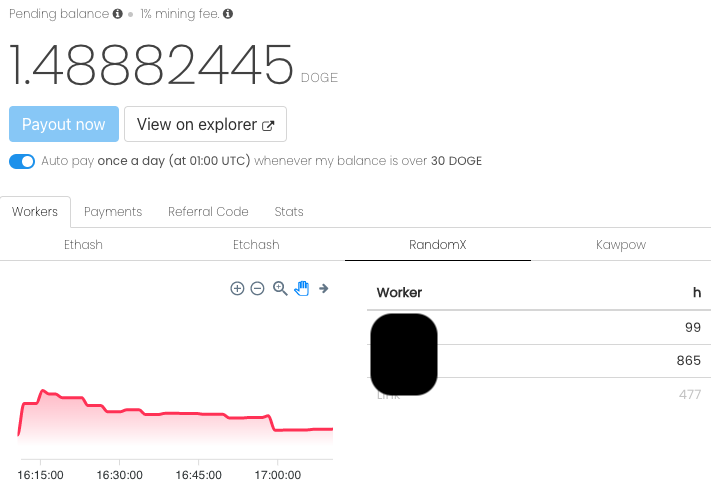
Again, this is a PoC, not a money-making setup. If you want to keep using your Pi to mine, you may want to consider overclocking your Pi, setting up a Pi cluster, and installing a cooling system.
Install xmrig macOS
For comparison purposes (if you don’t have access to a graphics card to set up a dedicated mining rig), here are instructions to set up up xmrig on macOS.
- If not already done, install Homebrew. Instructions on how to install Brew can be found here.
- Install the prerequisites:
brew install cmake libuv openssl hwloc
- Clone xmrig from GitHub:
git clone https://github.com/xmrig/xmrig.git
- Navigate to the xmrig build folder:
mkdir xmrig/build && cd xmrig/build
- Compile the code:
git clone https://github.com/xmrig/xmrig.git
- Download an xmrig template from GitHub into the build folder:
wget https://raw.githubusercontent.com/xmrig/xmrig/master/src/config.json
- Edit the config.json template:
nano config.json
- In the ‘pools’ section, update the URL and user fields. (The name field is something unique that you can make up. This name will be listed as a ‘worker’ once mining begins and it connects to unMineable):
- Save and exit.
- Start your miner.
./xmrig
Slàinte!
Resources:
This article was very much inspired from an article posted on Instructables.